How to Raise Beetle Larvae
This is part 1, of a 4 part care sheet that covers the breeding of beetles:
1. Beetle Larva Care Sheet
2. Beetle Adult Care Sheet
3. Beetle Breeding Guide
4. Beetle Egg Laying Guide

Japanese Rhino Beetle larvae (Trypoxylus dichotomus) on flake soil
General Information:
Raising beetle larvae (grubs) is a straightforward process, provided their environmental and nutritional needs are met. The essential components are a suitable plastic container and the correct substrate, as the substrate serves as both the habitat and food course.
The substrate type depends on the beetle group: decayed leaf-litter is best for flower beetle larvae (Cetoniinae), white-rot wood for rhinoceros and stag beetles (Dynastinae and Lucanidae), and home-fermented Flake Soil works well for all three.
No additional materials are necessary, and some such as pine bark or coconut-based products (coco-peat, coco-coir, coco-husk) can be harmful to developing larvae, eventually resulting in malnourishment and death. A substrate composed purely of hardwood leaves or wood produces the healthiest growth.
More information on suitable substrates can be found in the Beetle Substrate Guide, and my personal recipe for homemade Flake Soil is detailed in the Flake Soil Guide.
Growth Stages:
Beetles undergo 4 distinct developmental stages:
Egg -> Larva (L1>L2>L3) -> Pupa -> Adult
Within the larval stage, there are 3 substages: L1, L2, and L3, which essentially stands for “Larval Stage one/two/three”. Each time a larva sheds its skin to grow larger, it advances to the next stage.
L1: Newly hatched larvae that have not yet moulted.
L2: Larvae that have moulted once.
L3: Larvae that have moulted twice, and will eventually pupate.
Container Setup and Size:
When possible, each larva should be housed individually to prevent aggression or competition, which can occur as they grow. Some species are more docile than others (usually smaller beetle species), allowing for cohabitation, but most can be aggressive and protein hungry, hurting and sometimes consuming other larvae as they grow. A clear plastic container with a secure, ventilated lid works best, such as food storage tubs, deli cups, or small insect boxes/critter keepers.
The container size and volume of substrate should increase as the larva progressed through its growth stages. As a general guide for a rhinoceros beetle species such as Trypoxylus dichotomus, the minimum container volume should be the following:
L1 – 100 millilitres
L2 – 200 millilitres
L3 (early) - 500 millilitres
L3 (late) – 1000 millilitres
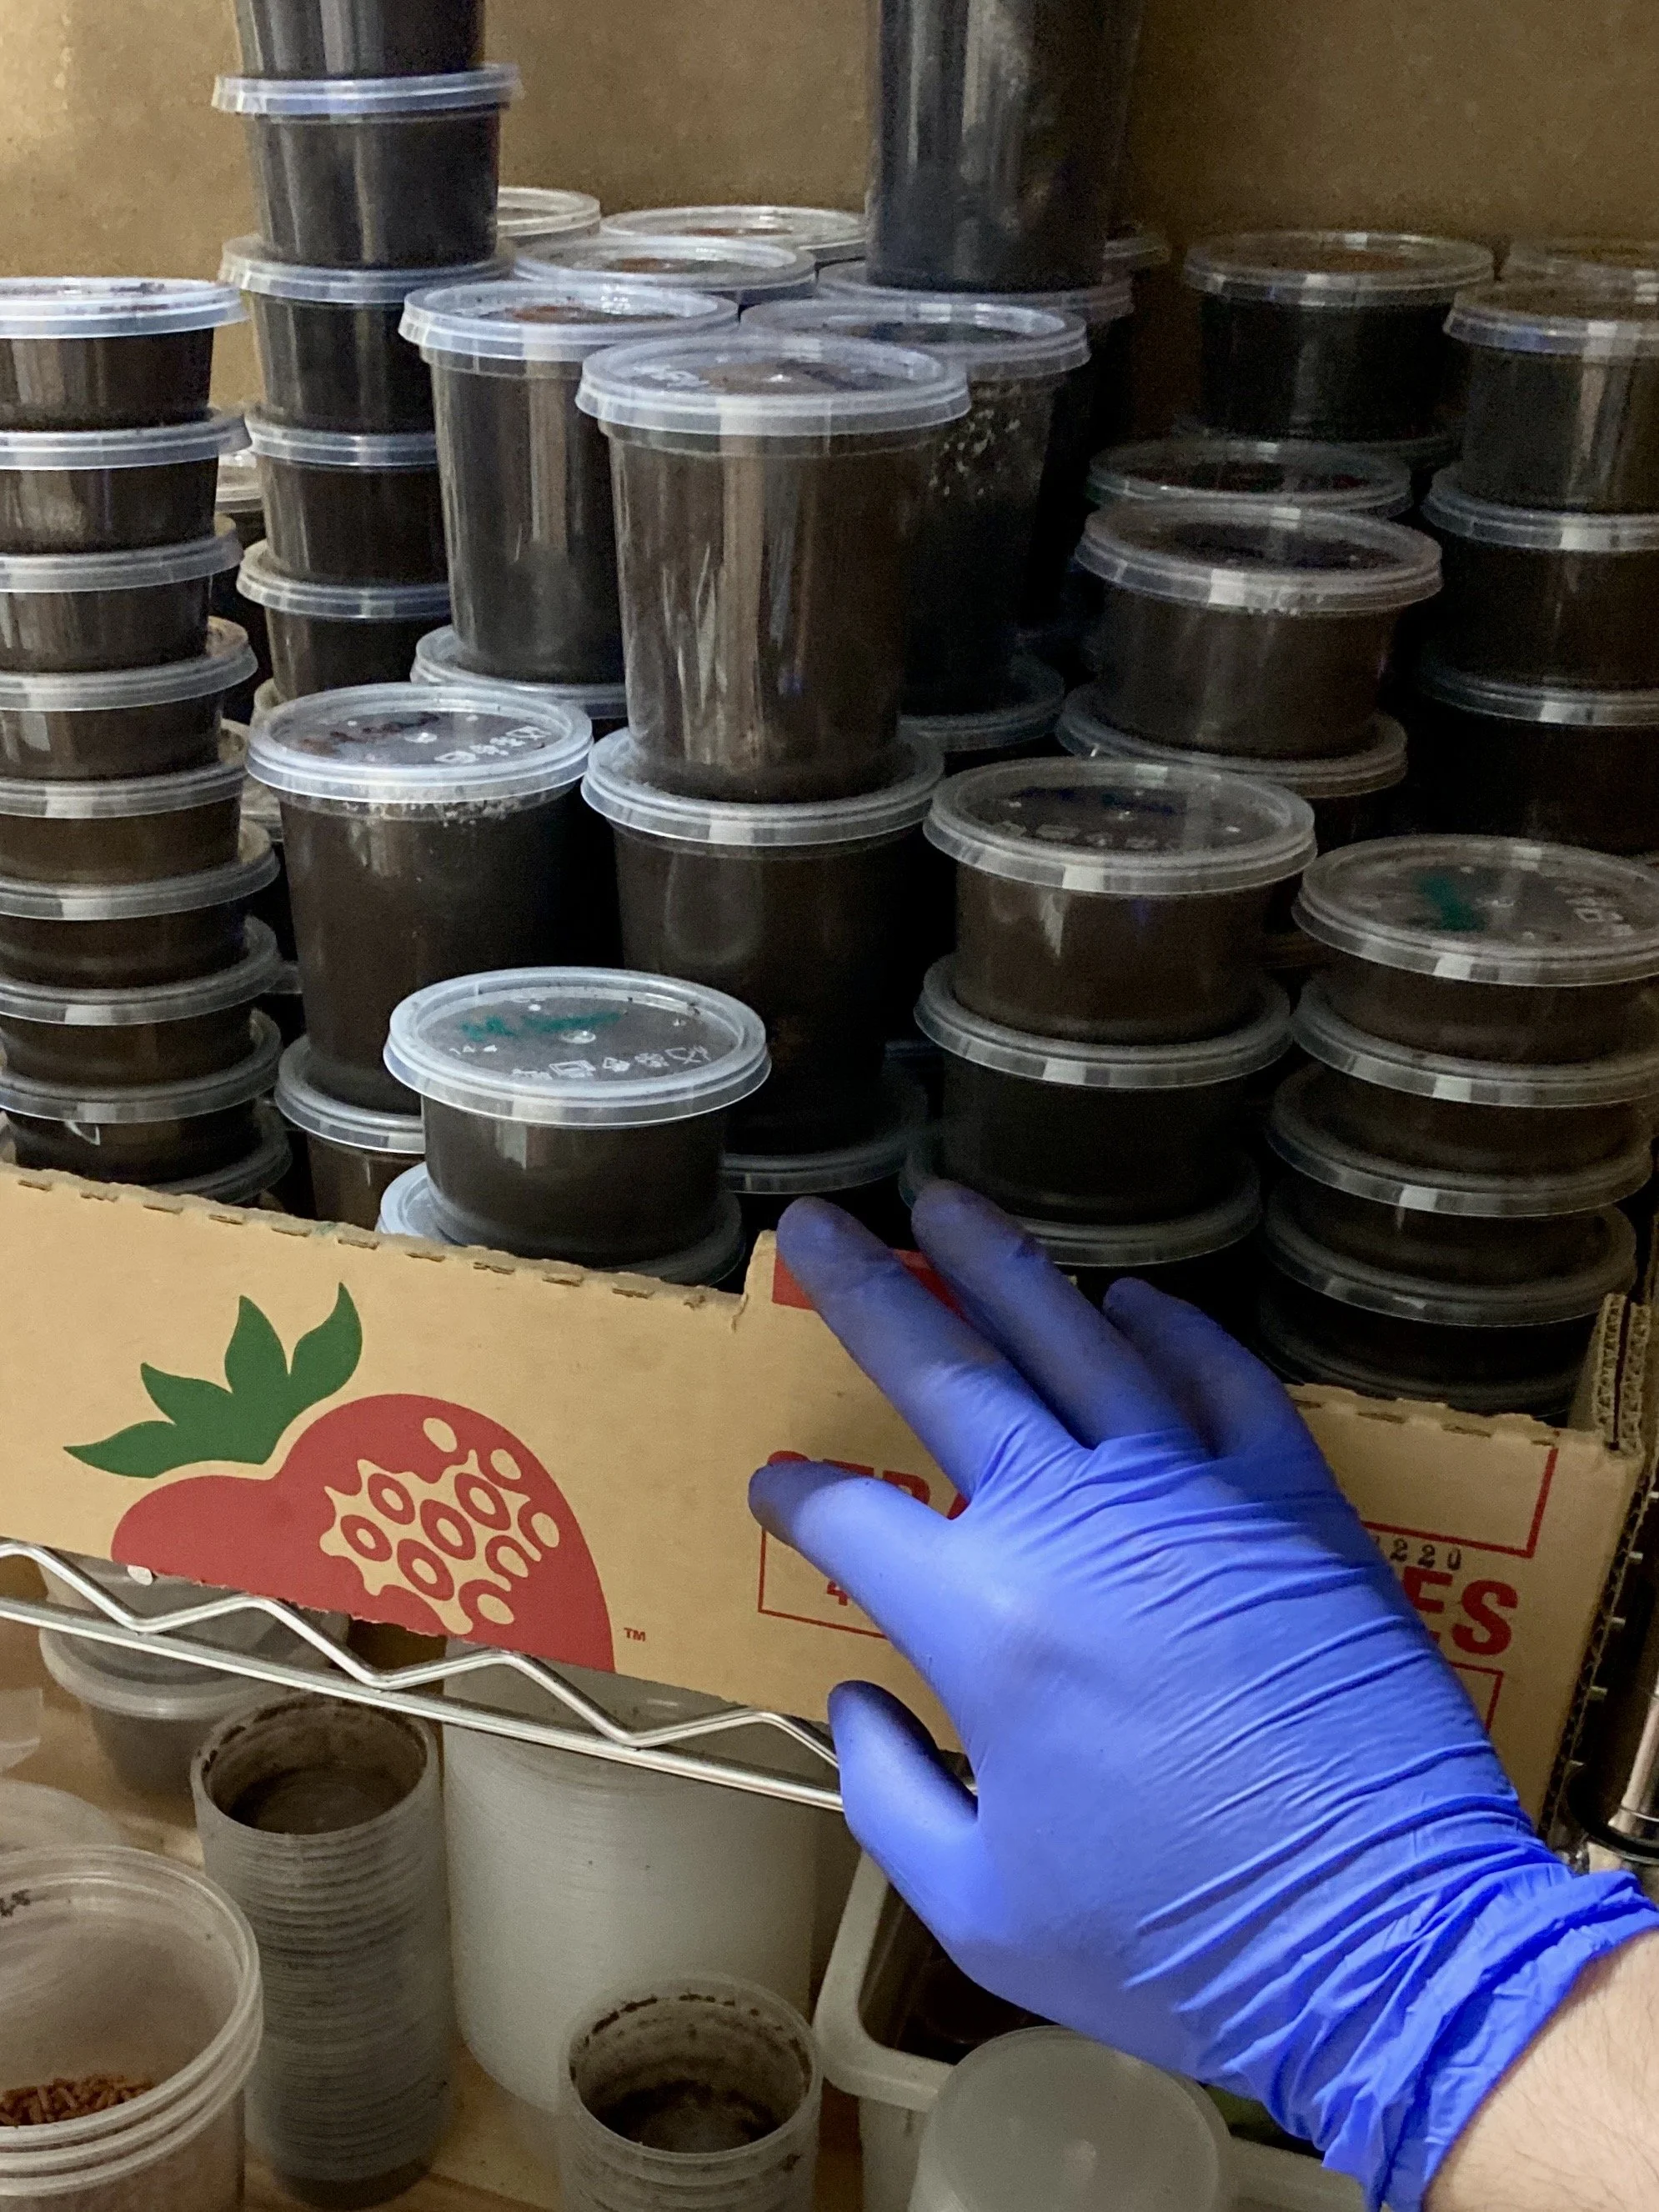
Containers ranging from 50-250 ml housing young L1-L2 stage larvae.

L3 Japanese Rhino Beetle larvae (Trypoxylus dichotomus) in a 1000 ml plastic screw-top jar.
Temperature:
The temperature should be controlled according to the needs of the specific species, especially during hot summers or cold winters. Keep the container in a quiet, shaded place out of direct sunlight. For example, highland species such as Dynastes neptunus and Dynastes satanas should be raised between 15-20 °C, and lowland species such as Dynastes hercules and Chalcosoma caucasus should be raised between 20-25 °C.
Ventilation:
Proper ventilation is essential for allowing oxygen to enter and to prevent the buildup of harmful gases over time. Several small holes should be pierved into the container lid to allow for aeration, while avoiding overly large/escessive holes, which can cause the substrate to dry out far too quickly.
Humidity / Substrate Moisture:
Beetle larvae will obtain all the moisture they require from the substrate they eat. Therefore, unlike when raising other types of insects, daily spraying is unnecessary and can leaf to harmful oversaturation of the substrate. This however means that the control of the moisture level of the substrate is of the utmost importance to maintain the health of the larva:
Too dry - Larvae will not be able to source any water, leading to dehydration.
Too wet - Encourages harmful bacterial growth, accelerates rate of substrate decomposition, and limits the amount of oxygen that can penetrate into the substrate.
To check the moisture level of the substrate, use the “ball squeeze test.” Take a handful of substrate and compress it into a ball. If water drips from the ball when squeezed, the substrate is too wet. If the ball crumbles and falls apart when released, the substrate is too dry. The ideal moisture level is reached when the ball holds its shape firmly, just before water would start to drip out.

Japanese Rhino Beetle larva (Trypoxylus dichotomus) on freshly moistened flake soil
Feeding and Substrate Changes:
Beetle larvae feed continuously on the substrate, consuming decayed organic matter. Because of this, the substrate itself functions as both their habitat and diet.
With rhinoceros and flower beetle larvae, it is easy to determine when the substrate needs changing, as larvae excrete consumed substrate as small, hard faecal pellets. When these pellets accumulate, it is time to partially replace the substrate. It is important to disturb the larvae as little as possible, as excessive handling can lead to stress, disrupting their feeding patterns and stunting their growth.
Step-by-step substrate replacement:
Gently tip out the container contents, including the larva, into a tray. Do not discard any old substrate yet.
Place the larva somewhere safe. Fill the bottom 1/4 – 1/3 of the new container with old substrate, creating a section where the larva can reside while gradually acclimatising to the new material. This is recommended to maintain beneficial microflora and to help the larva adapt to the new substrate gradually.
Fill the remaining 2/3 - 3/4 of the container with fresh substrate.
Dig a hole on the surface of the substrate and place the larva in it, allowing it to burrow down naturally. Covering the larva with some additional substrate can help it feel at ease.
It is important to retain a portion of the old substrate when carrying out substrate changes, as it helps to transfer the beneficial microflora over. Larval gut bacteria adapt slowly to the substarte they are consuming, and the faecal pellets/old substrates help to inoculate the new substrate. Completely replacing all the substrate at once can shock the larvae’s digestive system and lead to stunted growth. By keeping 1/4 - 1/3 of the old material in the bottom of the container, the larva can burrow down to that level if required, gradually adapt to the new substrate, thereby easing the larva’s transition and maintaining health.

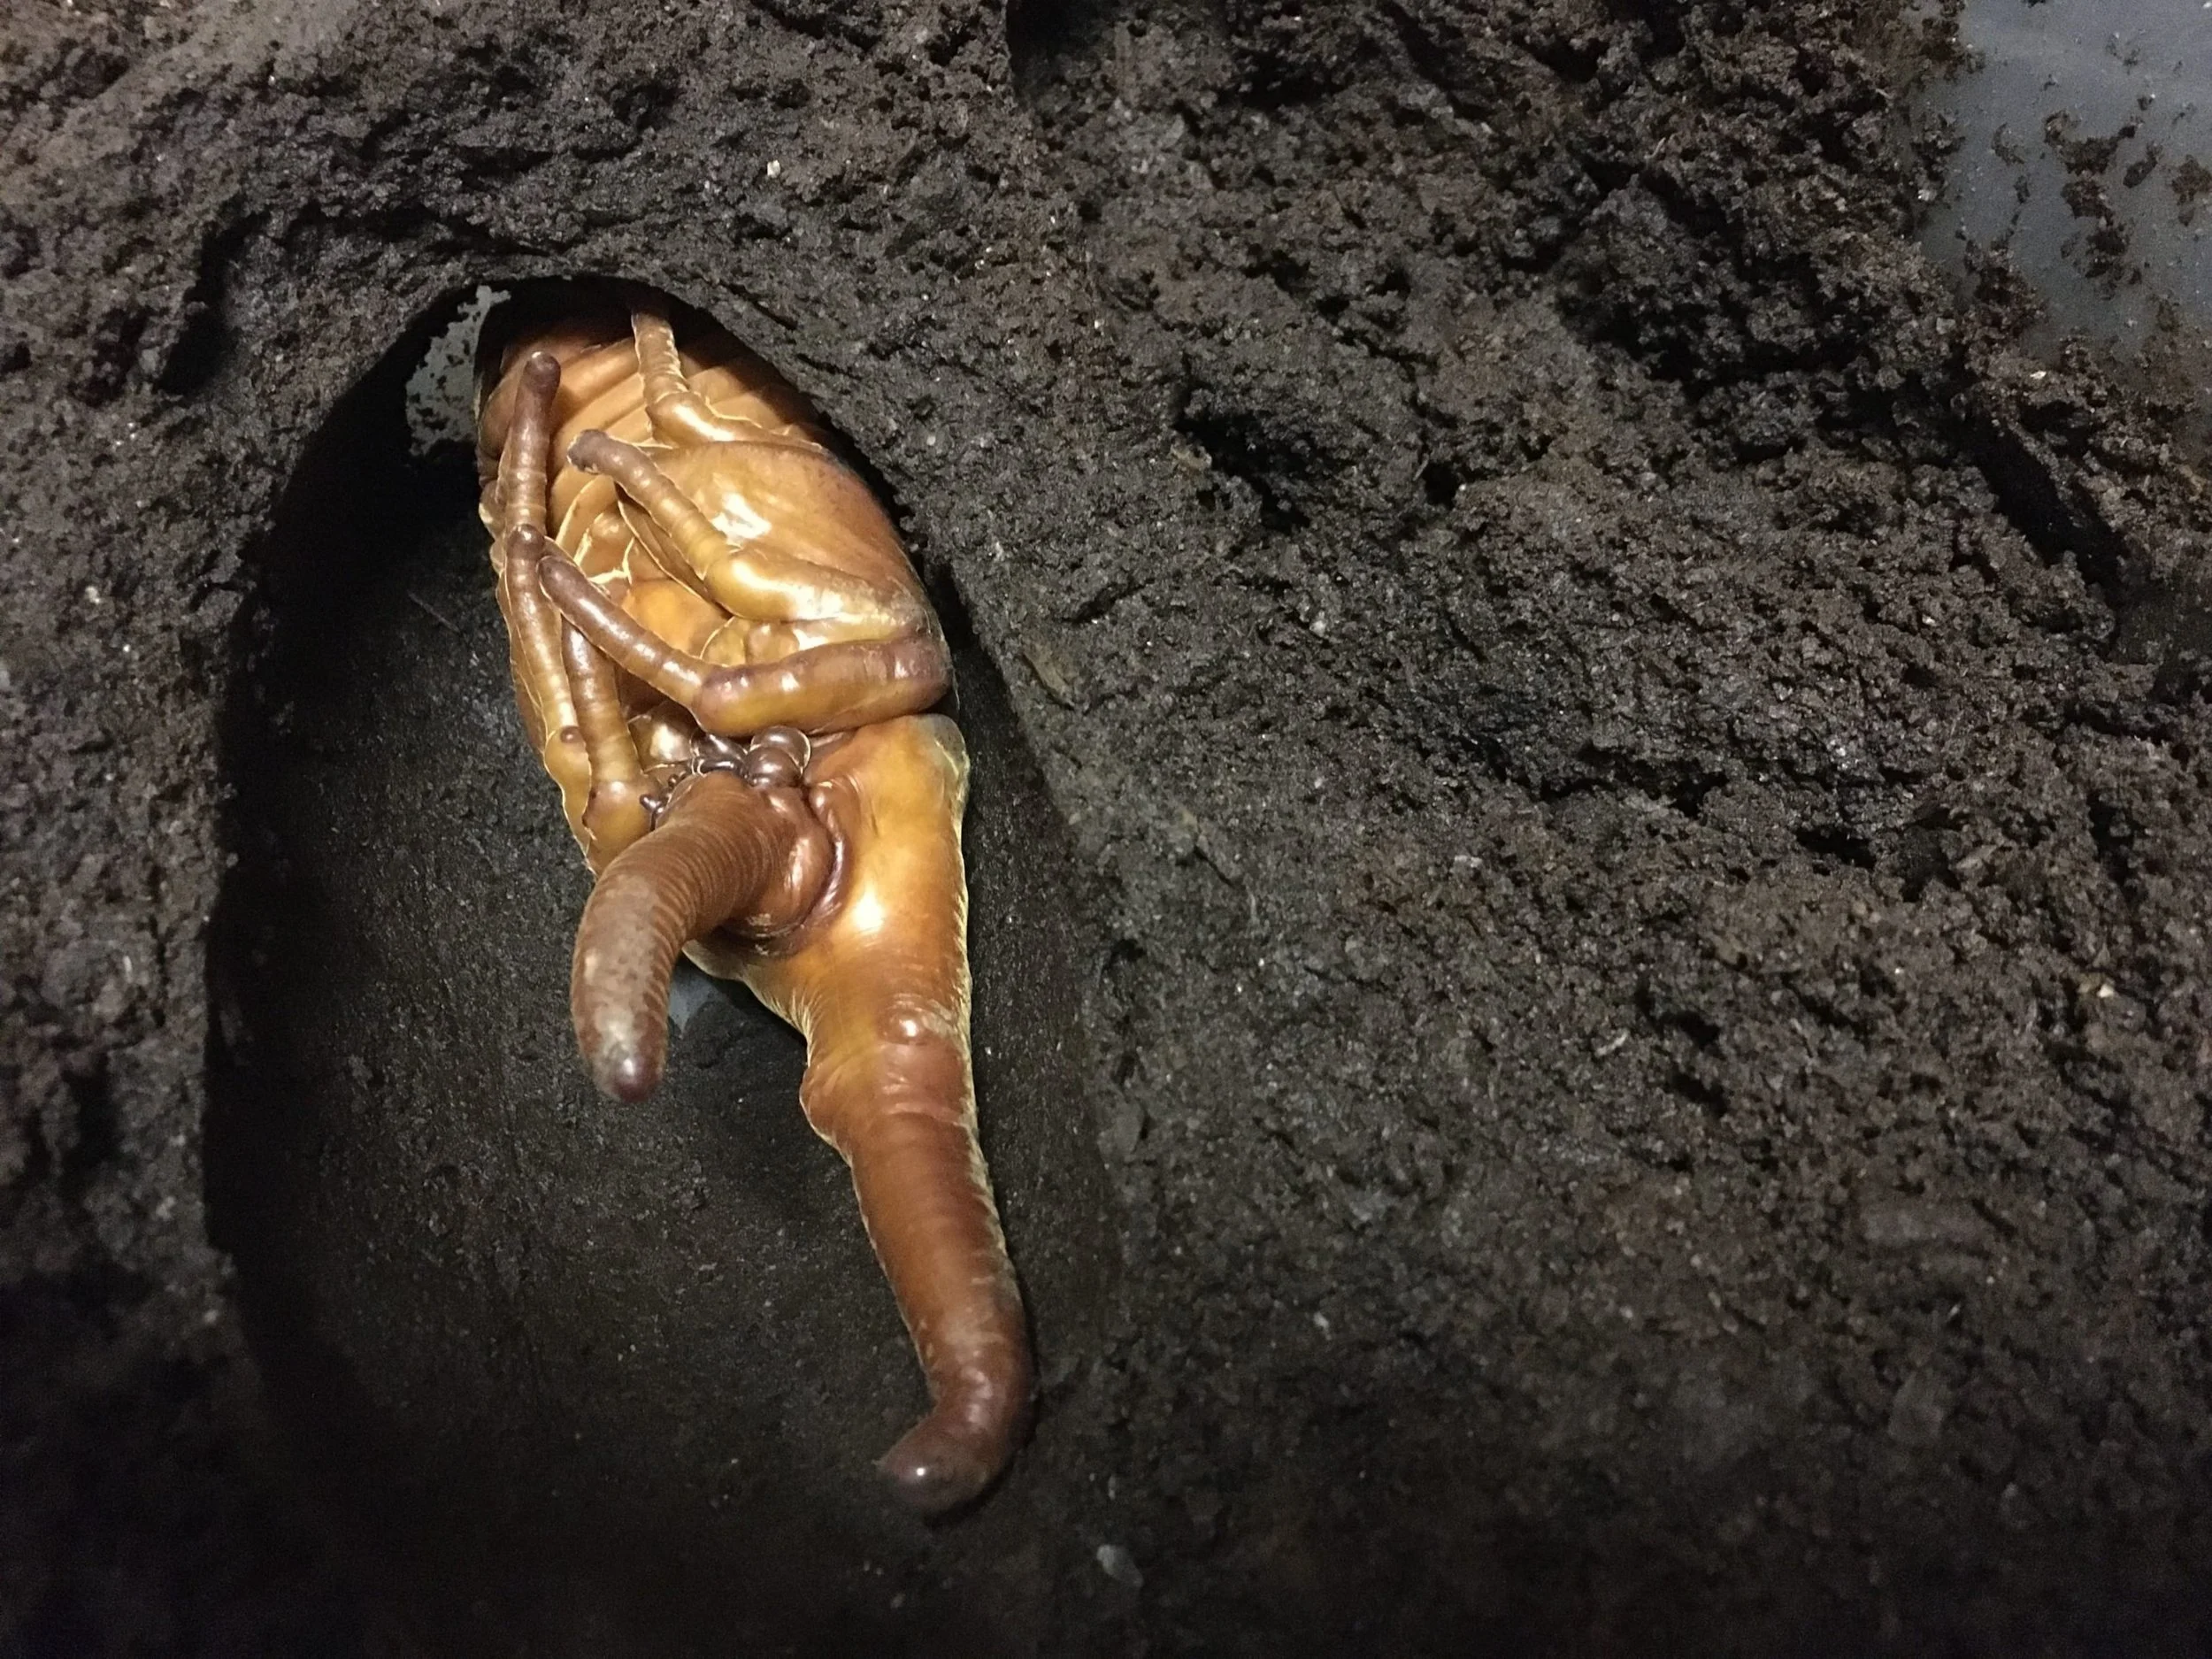
A male Japanse Rhino Beetle (Trypoxylus dichotomus) in its vertical pupal chamber
Pupation and Emergence:
When fully grown, an L3 larva will stop feeding and construct a pupal cell/chamber from a mixture of compacted substrate and liquified faecal matter. These cells/chambers are usually constructed near the container’s base or sides. This stage is extremely delicate, and any disturbance can easily destroy the pupal cell/chamber and kill the developing beetle.
If a fully-grown larva becomes inactive for more than a week, it may be preparing to pupate. Depending on the species, the transition period from the construction of the pupal cell to adult can take as little as a month (for example in Trypoxylus dichotomus), or up to three months in larger species (for example in Dynastes hercules).
Once the exoskeleton of the adult beetle has fully developed inside the pupal skin, the beetle will shed the pupal skin off. However, this does not mean that the development of the adult beetle has completed. After shedding off the pupal skin, the newly formed adult beetle will remain motionless inside the pupal cell/chamber, as its exoskeleton is still soft, and internal organs not fully yet functional. During this time of inactivity, which can last several weeks, the exoskeleton gradually hardens and the internal organs mature. Only when this process is complete, will the adult beetle then break through the pupal cell/chamber and begin surface activity.
Hercules Rhino Beetle (Dynastes hercules) in its horizontal pupal chamber
